How to send a postcard with an API to a Canadian address
October 16, 2026
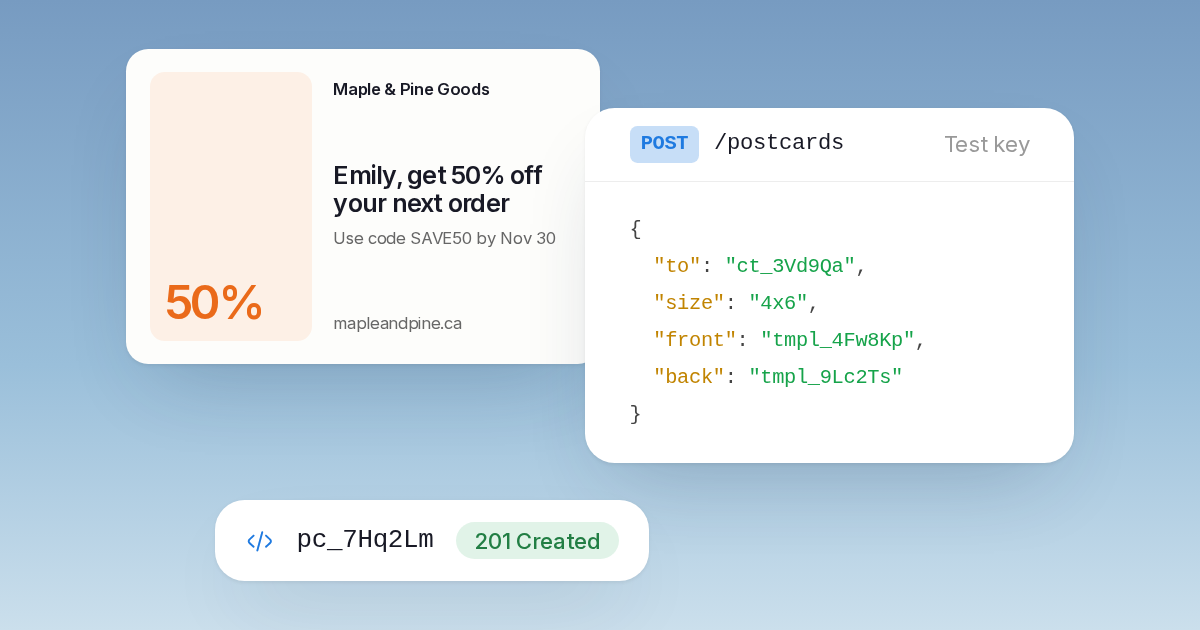
Send a postcard with an API in Canada using a test key, artwork and an address. Review the proof, handle mailing events and check errors before going live.
To send a postcard with an API in Canada, make a POST request with a recipient address, a size and artwork for each side. Start in test mode to check the address, render the proof and follow simulated mailing updates without printing or paying for a send.
This example uses the Direct Mailer direct mail API. Create a test postcard, then check the printed address and proof before sending your own customer mail.
Create a test key
In the app, open Developers, then API keys. Create a test key and store it in an environment variable named DIRECTMAILER_API_KEY.
Check that its prefix is dm_test_. The key decides the mode; adding a test field to a request does not turn a live key into a test key.
Keep the key on your server or in your local development environment. Do not put it in browser JavaScript, public repositories or customer-facing forms.
You can check the connection with:
curl https://api.directmailer.ca/me \
  -H "Authorization: Bearer $DIRECTMAILER_API_KEY"
The response identifies the workspace and mode. Confirm that the mode is test before creating the postcard.
Send your recipient and artwork
The examples use the sample Canadian address from Direct Mailer’s API documentation. Keep it in test mode.
curl https://api.directmailer.ca/postcards \
  -H "Authorization: Bearer $DIRECTMAILER_API_KEY" \
  -H "Content-Type: application/json" \
  -H "Idempotency-Key: postcard-tutorial-example" \
  -d '{
    "to": {
      "name": "Emily Carter",
      "line1": "1128 Fort St",
      "line2": "Unit 204",
      "city": "Victoria",
      "province": "BC",
      "postal_code": "V8V 3K8",
      "country": "CA"
    },
    "use": "marketing",
    "size": "4x6",
    "front": "<h1>Thank you for shopping with us</h1>",
    "back": "<p>Hi {{first_name}}, we appreciate your support.</p>",
    "merge_variables": {
      "first_name": "Emily"
    }
  }'
The to object needs a name or company and a complete Canadian address. Keep apartment or unit information with the address so it appears on the printed mail.
The API runs address verification and returns the submitted and printed addresses. It checks Canada Post formatting, postal code structure and province matching. Those checks do not confirm that a person lives at the address.
Canada Post’s Canadian addressing guidelines explain the expected format. French accents are preserved when the address is formatted.
A successful creation returns the postcard with status created. A shortened response can contain these fields:
{
  "id": "pc_…",
  "mode": "test",
  "status": "created",
  "address_status": "corrected",
  "printed_address": {
    "name": "EMILY CARTER",
    "line1": "204-1128 FORT ST",
    "city": "VICTORIA",
    "province": "BC",
    "postal_code": "V8V 3K8",
    "country": "CA"
  },
  "proof": null
}
The proof is initially null. Fetch the postcard again after rendering to get its signed preview links.
Use the same request from Node
This is the same send using Node’s fetch API. Choose either the curl example or the Node example for your first request. Reusing the same idempotency key and body returns the first result.
const key = process.env.DIRECTMAILER_API_KEY;

if (!key?.startsWith("dm_test_")) {
  throw new Error("Set a test key before running this example.");
}

const response = await fetch("https://api.directmailer.ca/postcards", {
  method: "POST",
  headers: {
    Authorization: `Bearer ${key}`,
    "Content-Type": "application/json",
    "Idempotency-Key": "postcard-tutorial-example",
  },
  body: JSON.stringify({
    to: {
      name: "Emily Carter",
      line1: "1128 Fort St",
      line2: "Unit 204",
      city: "Victoria",
      province: "BC",
      postal_code: "V8V 3K8",
      country: "CA",
    },
    use: "marketing",
    size: "4x6",
    front: "<h1>Thank you for shopping with us</h1>",
    back: "<p>Hi {{first_name}}, we appreciate your support.</p>",
    merge_variables: { first_name: "Emily" },
  }),
});

const result = await response.json();

if (!response.ok) {
  throw new Error(`${result.error.code}: ${result.error.message}`);
}

console.log(result.id, result.status);
Generate a new idempotency key for each intended mailing, and retain it for retries of that mailing. Keys are scoped to the workspace and mode and retained for 24 hours. Using a different key after a timeout can create a second postcard.
Fit the design around the address
The example artwork is deliberately plain. Replace it with content you have reviewed for print.
A postcard has a front and a back, supplied as HTML, uploaded artwork or saved templates. A PDF side needs the correct finished size plus bleed. Use the postcard size guide and bleed templates before preparing files.
On the back, your content goes in the left-hand area below the return address. Direct Mailer prints the recipient on the right, reserves the postage area and keeps the lower barcode strip clear. Artwork outside the permitted back content area is not preserved as customer content.
HTML merge fields such as {{first_name}} need values. With an inline address, supply those values in merge_variables. Sending to a saved contact can fill supported contact and custom fields automatically.
Open the test postcard in Mail to review both sides, the printed address and the proof. Signed proof links expire; fetch the postcard again when you need fresh links.
Listen for mailing updates
Use direct mail webhooks to receive status changes in your own application. Add a test endpoint under Developers, then Webhooks.
The usual postcard timeline is created, rendered, in_production, then mailed. A mailing can also fail, be cancelled or later be marked returned. Test mode simulates the timeline and sends real webhook requests.
Verify the Directmailer-Signature header using your endpoint secret, the timestamp and the raw request body. Reject stale timestamps and use a constant-time signature comparison. Events can repeat or arrive out of order. Store handled event IDs so a retried event does not repeat your customer follow-up, and use the reported status rather than assuming arrival order.
A Mailed event records handoff to Canada Post. Ordinary postcards have an estimated arrival, with no delivery confirmation. Your own system can use that estimate to plan another message.
Handle errors before retrying
Use the error code and field to decide what needs changing.
| Error | What to do |
|---|---|
| INVALID_ADDRESS | Correct the indicated address field before sending again. |
| DO_NOT_MAIL | Leave the contact out of the mailing. |
| VALIDATION_ERROR | Check the named field, including missing merge values. |
| IDEMPOTENCY_CONFLICT | Check why the same key was used with different request details. |
| IN_PROGRESS | Wait before retrying the same request with its existing key. |
| RATE_LIMITED | Respect the Retry-After header. |
| INSUFFICIENT_BALANCE | Add funds before retrying an intended live send. |
A failed request is not a reason to generate a fresh idempotency key automatically. Preserve the intended send and its key while you work out whether it was created.
Switch to live mail after reviewing the test
Add funds, create a live key and use live contacts, templates and uploads. Test and live records are separate.
Live mail is paid from your prepaid balance, with printing, addressing and postage included. A send date controls when mail becomes ready for printing; it does not promise a print turnaround or arrival date.
Direct REST requests do not wait for MCP approval. Keep the sample address in test mode and supply your intended recipient before any live send.
If you prefer to prepare a mailing in conversation, the MCP server gives supported AI assistants tools for the same postcard workflow. Live MCP sends use approvals unless a daily spend cap covers them.