How to send direct mail from Claude using MCP tools
October 16, 2026
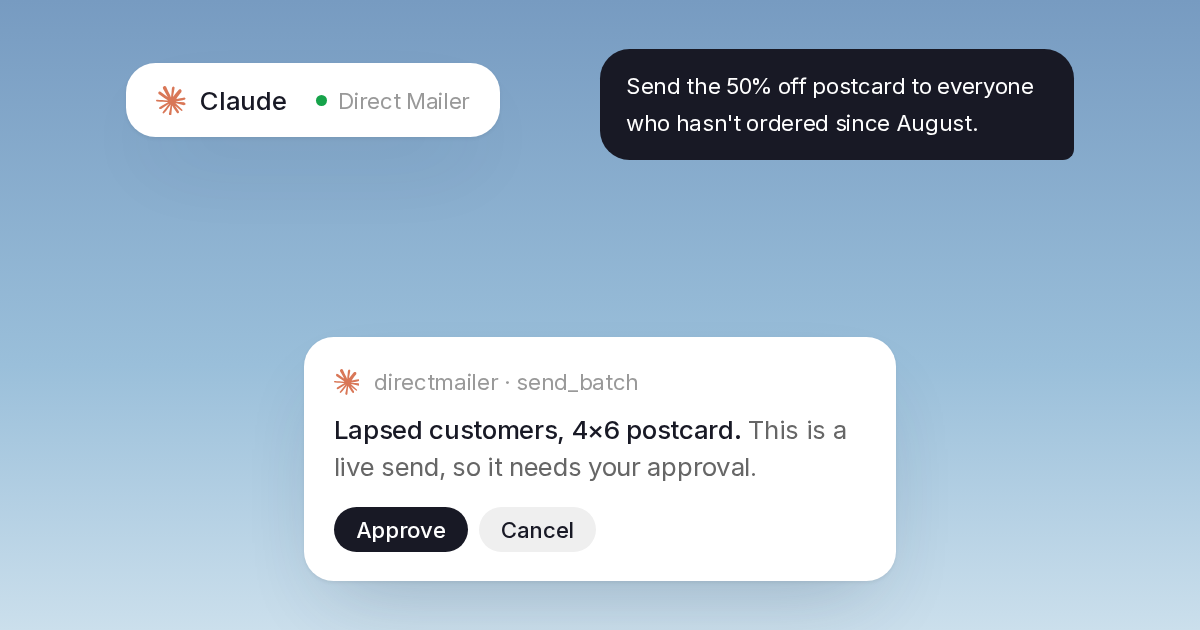
Send direct mail from Claude with the Direct Mailer MCP server. Choose saved customers, check addresses and costs, then approve a live postcard or letter.
You can send direct mail from Claude over MCP using the same assistant you already use to plan your campaigns. Ask it to choose a saved audience, check mailing costs and prepare postcards or letters. Live sends wait for your approval unless your key’s daily spend cap covers them.
Supported clients are Claude, Claude Code, Cursor and VS Code. ChatGPT support is not confirmed.
Start with a test key. You can check the whole mailing workflow and review rendered proofs without printing anything or charging your balance.
Get your customer list and artwork ready
Your assistant needs a Direct Mailer account, an API key and the content you want to mail. The Model Context Protocol gives an AI assistant a standard way to use tools from another service. Direct Mailer’s tools handle mailing tasks such as checking an address, quoting a postcard and reading campaign activity.
Prepare your customer contacts in Direct Mailer first. Import a CSV in the app, check the field mapping and review address errors. Save a list or segment that identifies the people you want to contact.
Use your own artwork or a saved template. Direct Mailer does not have a design editor, and its MCP server does not include a design or proof-generation tool. An assistant can help draft a message in conversation, but you still need to review that content and provide it in a supported form.
Connect your assistant with a test key
Open Developers, then API keys, and create a test key. Copy it when it is shown and keep it private.
Open Developers, then MCP, for the connection instructions for your client. The server address is https://api.directmailer.ca/mcp, and the connection uses Streamable HTTP with your API key in an Authorization bearer header.
Follow the instructions for your client rather than pasting the key into an ordinary chat message. The key determines the workspace and whether the assistant is using test or live mode.
After connecting, ask the assistant which Direct Mailer tools are available. It should be able to describe tools for finding saved segments and templates, checking addresses, quoting mail, sending and reporting.
A connected assistant does not gain access to your Shopify store or CRM through Direct Mailer. It works with the contacts and mailing data available to the key you supplied.
Ask for a campaign with clear boundaries
Give the assistant the audience, purpose and content to use. For an initial test, a prompt could be:
Use test mode to prepare a postcard campaign for my saved customer segment. Show me the segment name and mailable count, list the saved templates I can choose from, and quote the send before creating anything. Ask me to resolve any missing details.
Replace the audience description with a segment you have already created.
The assistant can call list_segments, then count_segment, to check the saved audience. It can list templates and senders, and use quote to check the applicable mailing price.
Have it confirm the audience and template choices with you. A vague request such as “send something to my best customers” leaves the customer definition, message and budget unresolved.
Check the audience before preparing mail
Saved segments use the rules you have set from contact fields, location and mailing history. They do not discover prospects or infer purchase history that you have not supplied.
If your audience depends on a last-order date, import that date as a custom field and keep it current. CSV imports happen in the web app. The assistant can add or update individual contacts, but the MCP server does not import a spreadsheet for you.
Every mailing includes address verification against Canada Post addressing rules. Your assistant can also use verify_address before preparing a send. Those checks cover formatting, postal code structure and province matching; they do not establish who lives at an address.
Do-not-mail contacts and failed addresses are excluded from list and segment mailings. Recipients are captured when you create the campaign, so refresh customer data before that step.
Review the test mailing in the app
Choose the postcard size and the content for each side. Supported postcard sizes are 4x6, 6x9 and 6x11. Letters are also available in colour or black and white.
Ask the assistant to create the test mailing with your chosen templates or content. The test timeline simulates printing and mailing, while proofs render from the actual content.
Open Mail with Test selected to review the postcard or letter. Check the artwork, recipient details, return address and merge fields. A test status of Mailed describes the simulation; nothing has entered the postal system.
A live MCP approval is an approval to send. It is not a separate design-proof workflow. Review the test output before asking the assistant to prepare the live version.
Approve a live send or use a daily cap
Add funds to your balance and connect a live key when you are ready to mail. Test templates, contacts and other records are separate from live data, so make sure the intended audience and artwork exist in live mode.
With no daily spend cap, a live MCP send returns an approval link. An owner or admin opens it in the app and approves or declines the stored request. Pending approvals expire after 24 hours.
A daily spend cap lets the key send without asking when the cost fits within the cap. Requests outside it wait for approval. Choose this setting based on the control you want over your assistant’s spending.
If a request is interrupted, ask the assistant to check the existing result. It should reuse the returned idempotency key when retrying the same send to avoid creating duplicate mail.
Ask about progress and spending
Your assistant can check the campaign or individual mailing with get_mail, or you can track each piece in the app.
Ordinary postcards and letters show progress up to Mailed, with an estimated arrival. That is the handoff to Canada Post, not confirmation that the customer has received the message.
Ask get_analytics for mailing volumes, spending, statuses and locations. These reports describe mailing activity; they do not match purchases to postcards or calculate attributed revenue.
If mail comes back to your return address, mark it returned in the app or ask the assistant to do it. The contact is then marked do not mail.
Use code for a workflow you want to own
An assistant is useful when you want to choose an audience, prepare a campaign and ask questions in conversation. Your own application may be a better fit for a workflow that follows rules you maintain in code.
The same mailing operations are available over HTTP. The API tutorial shows how to send a postcard with an API using a test key, a Canadian address and your artwork. Direct REST calls do not use MCP send approvals, so review the controls in your own application before changing to a live key.